Niquette Bay State Park Niquette Bay State Park is a hidden gem located in northern Vermont, just 25 miles from the city of Burlington. This…
Niquette Bay State Park Niquette Bay State Park is a hidden gem located in northern Vermont, just 25 miles from the city of Burlington. This…
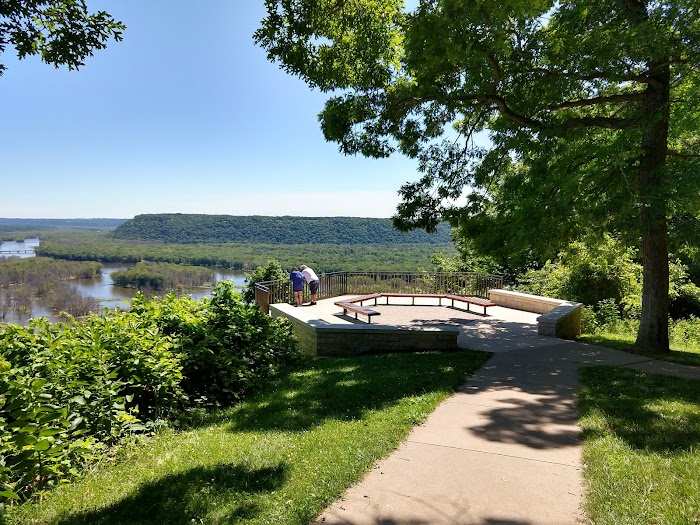
Pikes Peak State Park information Adress: 32264 Pikes Peak Rd, McGregor, IA 52157, United StatesRating: 4.8/5Rated count: 2275 Welcome to Pikes Peak State Park History…
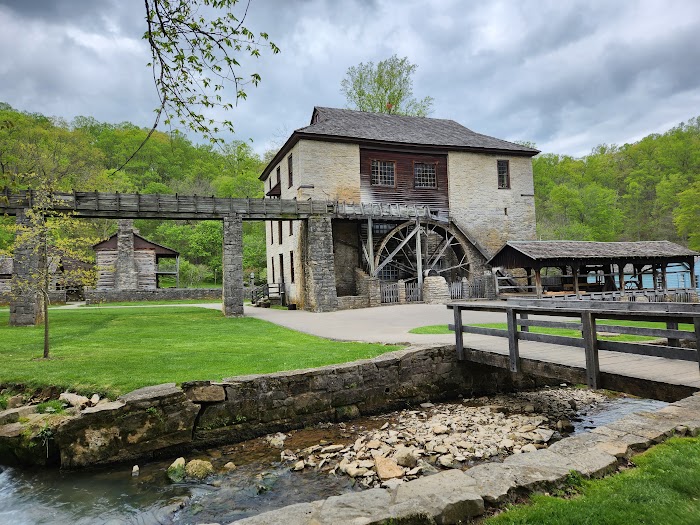
Spring Mill State Park information Adress: 3333 IN-60 E, Mitchell, IN 47446, United StatesRating: 4.8/5Rated count: 2866 Spring Mill State Park is a picturesque destination…
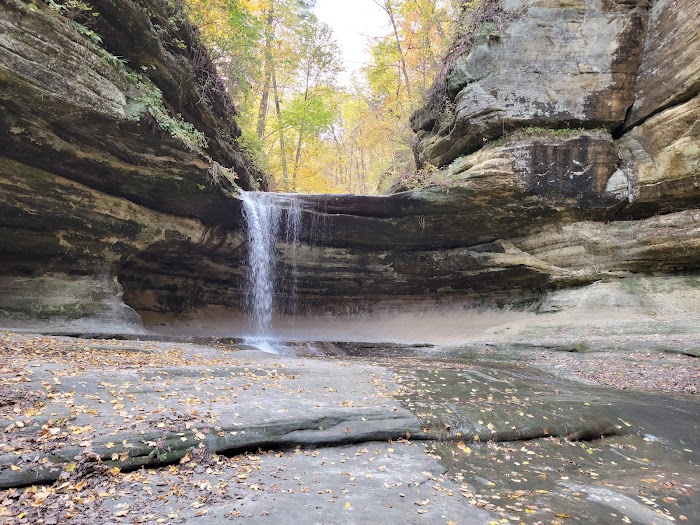
Starved Rock State Park information Adress: Oglesby, IL 61348, United States Rating: 4.7/5 Rated count: 14673 [featured_image] Explore Starved Rock State Park Welcome to Starved…
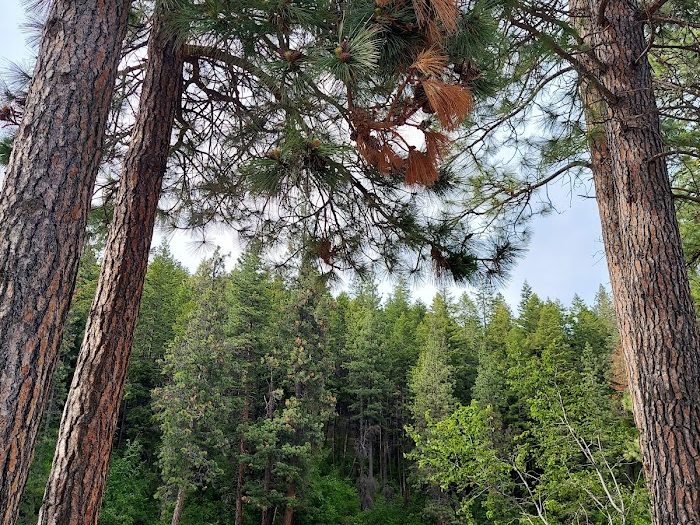
Farragut State Park information Adress: 13550 ID-54, Athol, ID 83801, United StatesRating: 4.6/5Rated count: 1474 Welcome to Farragut State Park! History Farragut State Park is…
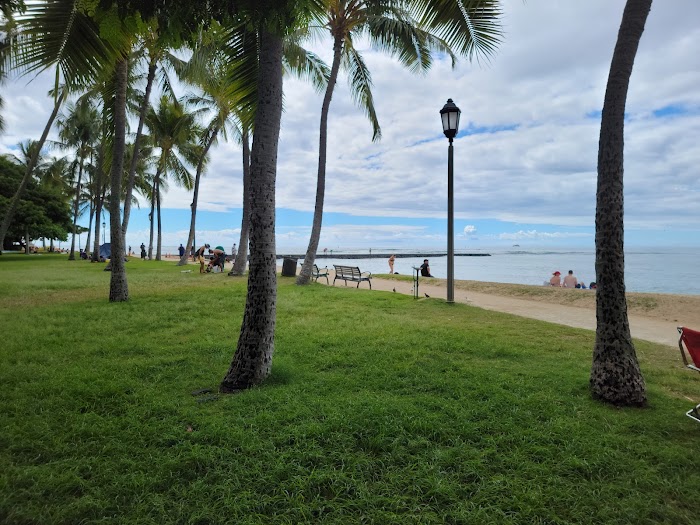
Kapiʻolani Regional Park information Adress: 3840 Paki Ave, Honolulu, HI 96815, United States Rating: 4.6/5 Rated count: 4903 Kapiʻolani Regional Park Welcome to Kapiʻolani Regional…

Tallulah Gorge State Park information Adress: 338 Jane Hurt Yarn Rd, Tallulah Falls, GA 30573, United States Rating: 4.8/5 Rated count: 5521 Tallulah Gorge State…
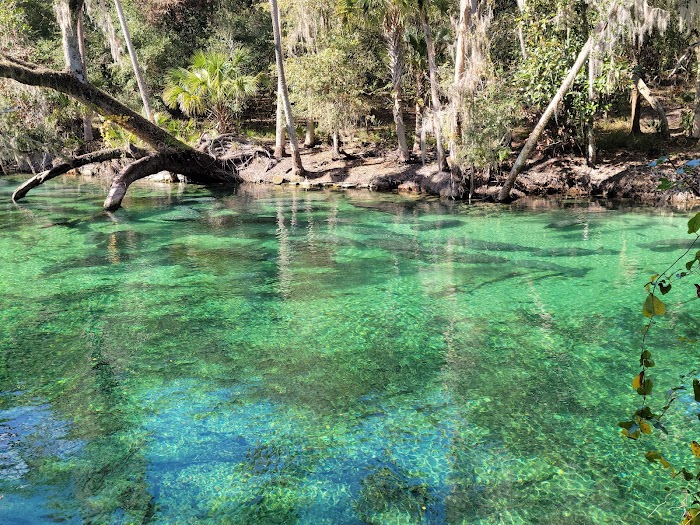
Blue Spring State Park information Adress: Florida, United States Rating: 4.8/5 Rated count: 15081 Blue Spring State Park Welcome to Blue Spring State Park History…
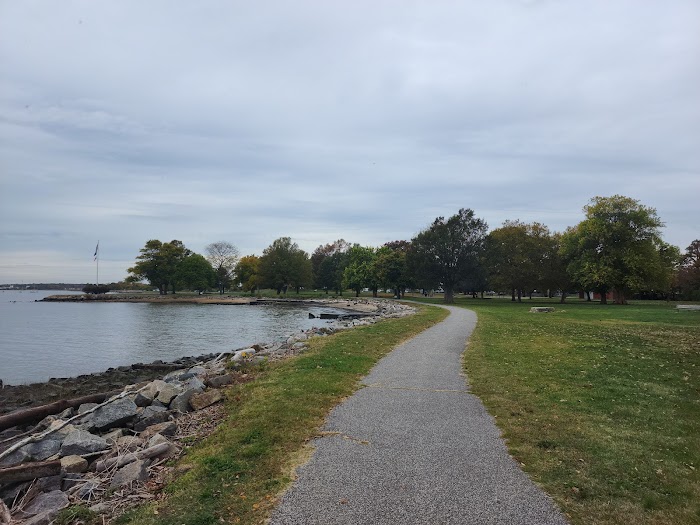
New Castle Battery Park information Adress: 1 Delaware St, New Castle, DE 19720, United States Rating: 4.7/5 Rated count: 3417 New Castle Battery Park Welcome…
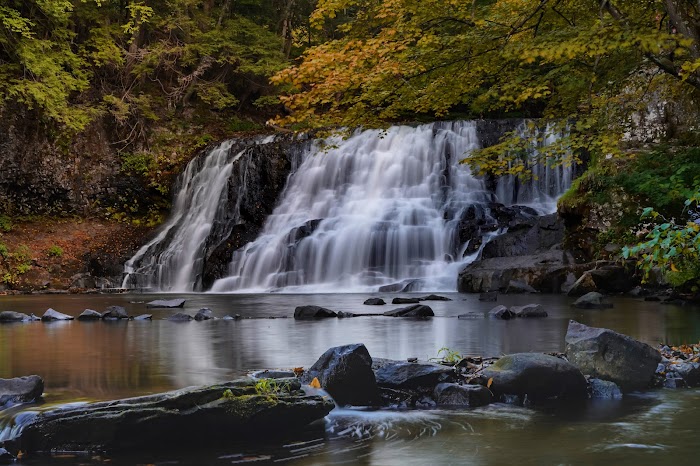
Wadsworth Falls State Park information Adress: 721 Wadsworth St, Middletown, CT 06457, United States Rating: 4.5/5 Rated count: 1989 Wadsworth Falls State Park is a…